A simple guide on the harvest and the malfunction of the micrasese. The day’s harvest is an exciting moment, just days after planting, it has a tray full of mini vegetables ready to eat. The appropriate harvest and management will ensure the best taste and useful life.
When to reap microgreens
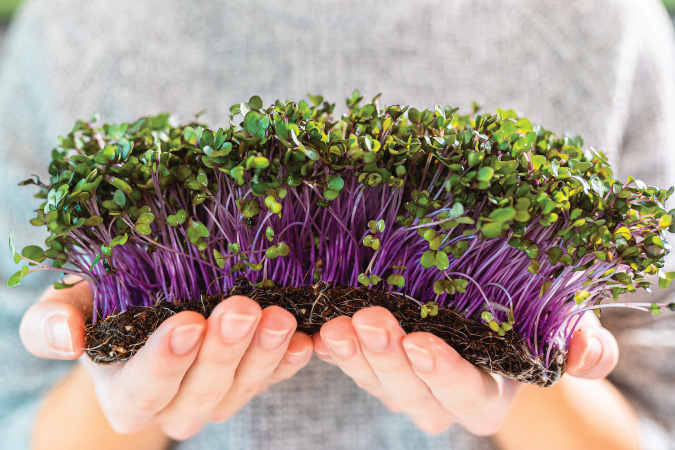
Most microgreens are cut when their cotyledons (seed leaves) are developed and a small genuine leaf is possible, typically 1-3 inches high. This is when they are more tender and tasty. The harvest generally occurs Long before Plants begin to be high, woody or developing more mature leaves.
A visual signal: the tray looks like a thick grass, and maybe some microgreens are starting to bow or get a second set of leaves, it is a good time to cut. Do not wait for everyone to fall, or risk cushioning or rotting at the base.
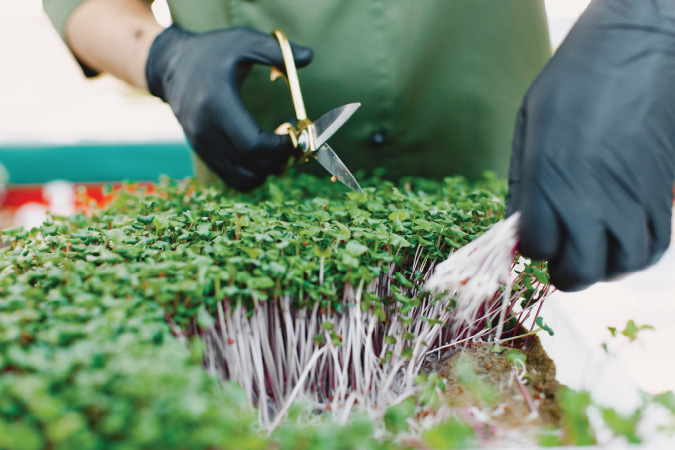
How to harvest microgreens
Use a pair or clean scissors or a sharp knife. Hold a lot of microgreens in an upright position with one hand and SNIP just above the soil line With the other. Avoid cutting the ground (you don’t want sand in your vegetables).
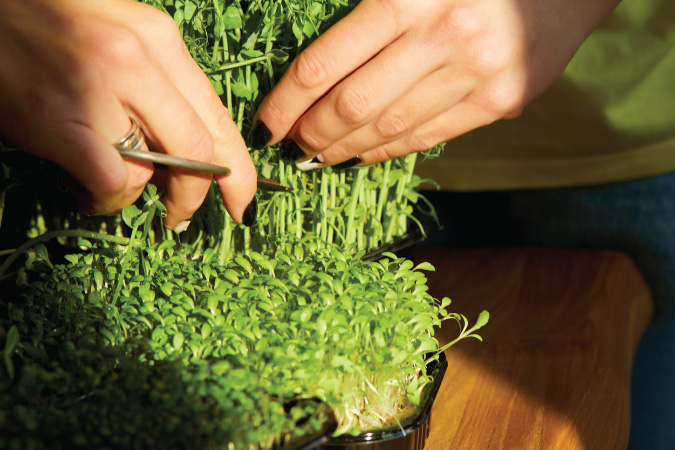
It is easier to work in sections, reaping a part of the tray at the same time. If seed helmets are still joined (familiar with sunflower or bite), you can take them out or blow slightly, and many will fall. The harvest is done a lot when the greens are dry, so if it is last irrigated from the upper part, allow them to dry before cutting. This helps them better store and avoid a viscous cutting edge.
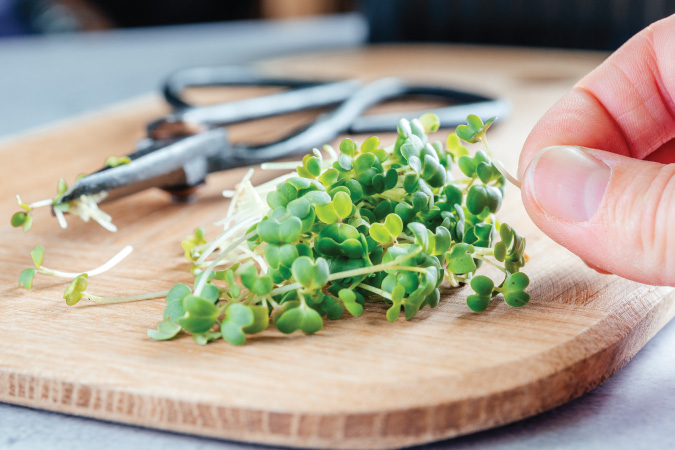
Use of fresh microgreens
Give the harvested microgrens a quick inspection and eliminate large seed shells or the rare bad -looking outbreak. In many cases, if it grows in a clean medium, it does not even need to wash the microgreens; You can eat them immediately (especially true for your own harvest, where you know there are no pesticides or pollutants). They must be very clean if you laugh gently. However, if you prefer to rinse, do it Very Gently in a bowl of cold water, then drain. Let them dry with a paper towel or dry with a salad roulette (only a few soft turns; do not garden them).
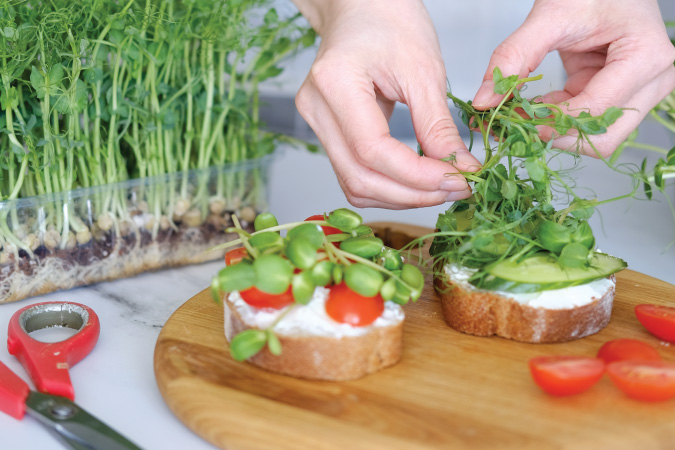
Microgreens shine when they eat raw: Look at them in salads, stack them in sandwiches and wraps, disperse them in soups or tortillas after cooking, or mixing them in smoothies and pesto. We simply dehydrate them and use them as a garnish full of nutrients.
They pack many microgreens based on flavors, on a small leaf, they will give a blow of Wasabi, while peas outbreaks add a sweet garden taste to anything. Its nutritional blow is higher when it is fresh and raw.
Jour harvest interference
If you are not eating them all immersed, clean storage is essential because microgreens can spoil faster than mature green. First, make sure the vegetables that plan to store are dry to the touch (excess moisture will promote rot). Focus a plastic container or a zipbolin bag with a dry paper towel to absorb moisture. Place the microgreens inside, do not pack or crush them. Self and guide it in the refrigerator.
The ideal refrigerator temperature is around 35–40 ° F. Different microgreens have different shelves, but in general, use them inside 5 to 7 days For the best quality. Some studies indicate that they can last up to 10-14 days under cooling, or that they require optimal conditions and varieties. In practice, delicate micros such as radish or mustard can last ~ 1 week, while more distressing peas outbreaks could last longer. Verify the green stored daily and eliminate decomposition bits (the rest will last more if the spoiled pieces are out of the tasks). If you notice that Tawel paper is wet, replace it.
An alternative storage method is Gently wrapping microgreens in a dry paper towel and then placing them in a bag,Some producers find that this help keeps them crispy.
FOOD SECURITY NOTE
Microgreens cultivated in the home have a low risk of contamination if use clean practices (clean trays, fresh seeds, drinking water). They are safer than shoots because they are grown in the light and with air flow, not in a bottle. Even so, always use clean hands and tools when handling the subject. Some people give a very light rinse or a vinegar-water solution or use products if they are a time malfunction, but it is generally not necessary for their own harvest. If you wash They, make sure they are very dry before the subject of the failure to avoid microbial growth.
Remember that, unlike a grass in pot, microgreens will not grow after the Cortes. In a few cases (such as peas outbreaks or some herbs), if you leave a little voice and intact root carpet, you can obtain a very scarce regeneration or a “second cut”, but usually, quality is much lower. The remains is better composting and starting again with fresh seeds for continuous supply.
You can extend the usefulness of a batch tray in lots every few days. For example, I could cut one half of the tray one day and let the rest under the lights grow, maybe an additional day or two if they were slightly behind. But in general, once they have reached their best, it is time to harvest completely.
Enjoy this process: there is something incredible that satisfies a tray of vegetables in which you grew up less than two weeks and immediately rocky at your dinner.
Of tray to table in minutes It is the best experience of the farm to the table!
Read more in this series:
A guide for beginners to cultivate microgreens
THE 5 BEST MICROGREEN VARIETIES FOR BEGINNERS
Common microgrene cultivation problems: a problem solving guide
Our favorite microgreens supplier:
True leaf market
(I visited 541 times, 1 visits today)